When I last left off on this project (see here), the sleeves were completed but not attached. Therefore, the next thing I did was attach the sleeves.
I basted the sleeves in place to check for fit, and once I was satisfied, I stitched the under side of the sleeve to the armscyes using backstitches. Then, it was time for the difficult part: fitting the shoulder strap of the sleeve. Based on the original at LACMA, the shoulder straps were cut in one with the bodice. Therefore, I had to stitch the top of the shoulder strap in a way that would hide raw edges all around. I don’t have any pictures, but believe me when I say that it was very fiddly. However, I accomplished my goal, and I managed to finish the neckline all around, including the pieced bit that I had added at the back of the shoulder.
At this point, it was time to move on to the skirts. First, I hemmed the front of my skirt panels. The other side was on the finished selvage edge, so I didn’t bother finishing the side seams of the skirt as I attached the skirt fronts to the skirt back (which was cut in one with the back bodice).
Then, I pleated and attached the skirts. I had been dreading this, because I found pleating skirts cut in one with the back to be very difficult the last time I did this, on my Maureen gown. However, it was less terrible than I had been expecting.
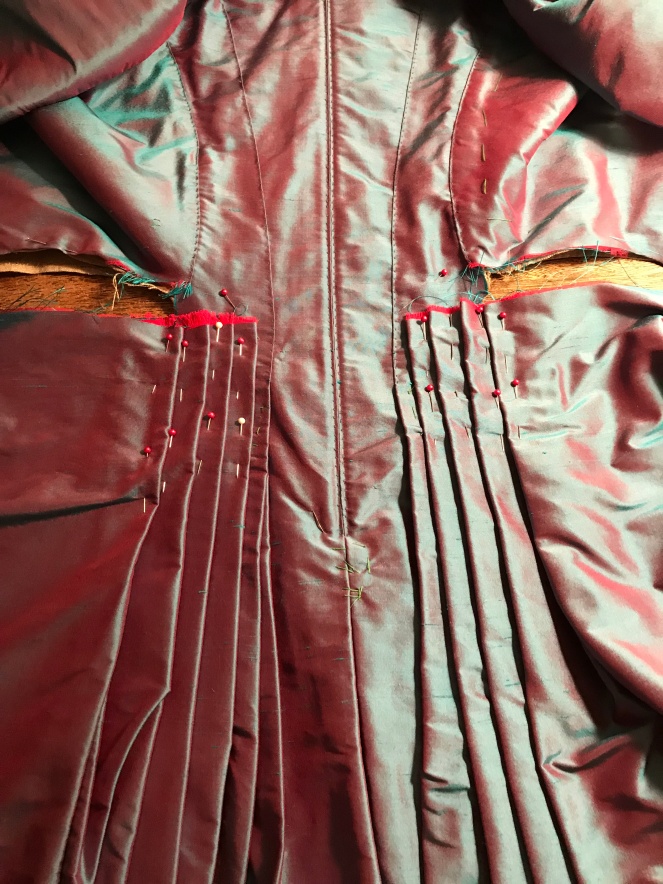
To do this, I first snipped the skirt from the bodice until they were only attached near the side back seams. Then, I pleated the back panel of the skirt until the pleats were even and used an even amount of fabric. I then realized that my pleats had to move with the curve of the back of the dress, so I moved them so that they were staggered upwards, like a staircase.
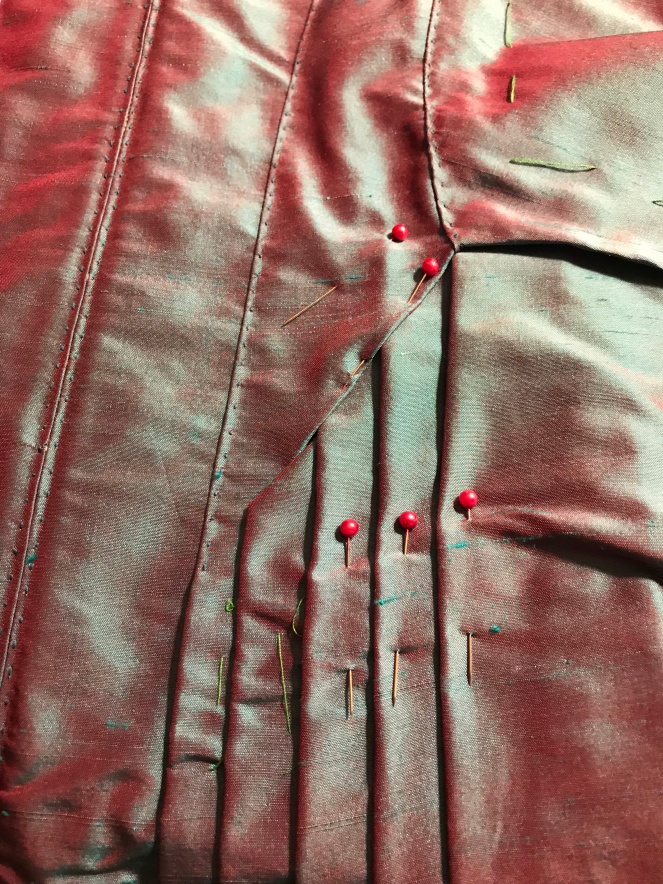
After I was satisfied with the pleats, I turned under the lower edge of the bodice. To get the pleats to lay smoothly, I folded under the first of the pleats so that it lay over the bodice, but I tucked the rest under the folded lower edge of the bodice. Hopefully, the above picture explains this better than I do.
I then used neat whip stitches to secure the pleats. I also pleated the fronts of the skirt so that they were even, and I finished the inside of the skirts to the best of my ability.
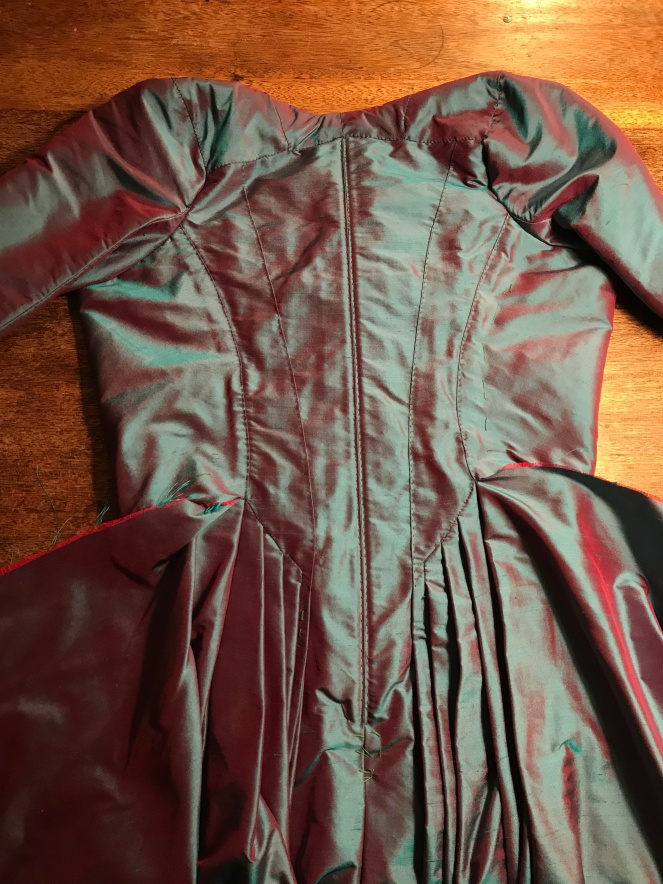
At this point, I hemmed the dress, and the base dress was completed. Next time, I’ll discuss my construction of the collar, the capes, the buttons, and the lapels, so keep an eye out!
Thank you for reading.

One thought on “The Construction of a LACMA-Inspired Redingote: Part Three”